How To Set Up an Eero Wi-Fi System
Eero delivers advanced Wi-Fi with a simple installation process.
Setting up your Eero Wi-Fi system is not just a fancy tech upgrade; it’s a game-changer for your home network. With Eero, you’ll experience a network that adapts to your needs — intelligently routing traffic to ensure a consistently strong signal wherever you are in your home. While a mesh network is often seen as advanced technology, the set up is simple. Eero makes it easier than ever to access a transformative Wi-Fi experience; we’ll walk you through the steps to simplify it even further.
Must-Have Tips Before Setting Up an Eero Wi-Fi System

- The number of Eero devices you need for the best connection is dependent on the size of your home.
For your Eero network to function properly, you need to equip your home with enough devices to access the best speed. The average two-story household is best-equipped with two Eero devices — one for each floor. Depending on your home’s square footage, you may need more. Most Eero Wi-Fi mesh routers cover up to 1,500 square feet, with some models covering 2,000 square feet. Even if you have a one-story home larger than 1,500 square feet, you may still need two devices.
The purpose of an Eero device is to replace your home’s router, so you’ll still need a modem. This device typically comes from your internet provider with your plan. You’ll be connecting your gateway Eero device to the modem, so ensure you have it handy before installation — preferably already set up.
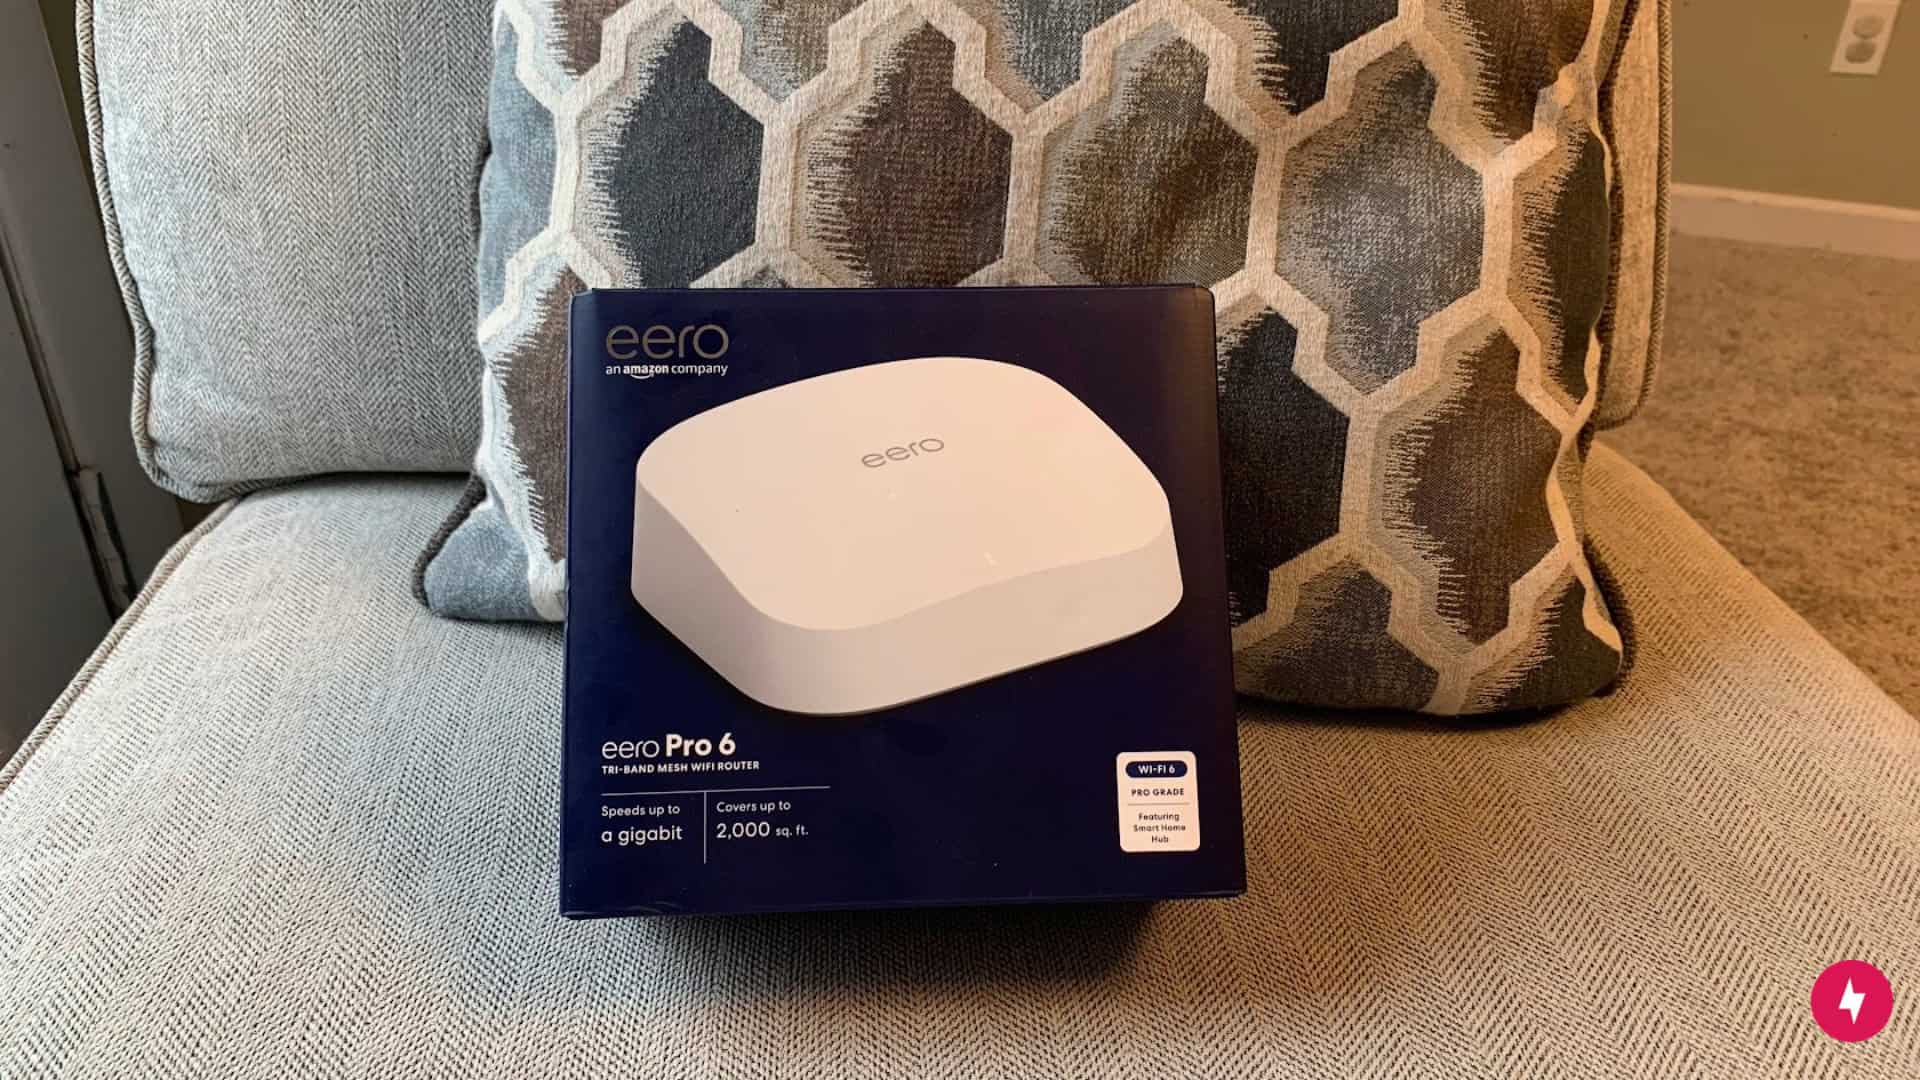
For an Eero device to reach its maximum capacity, your internet plan must meet certain speed criteria. This will depend on the Eero device you choose, but most popular devices require internet service provider (ISP) speeds up to 1 Gbps.
Preparing to Set Up an Eero Wi-Fi System
Before you begin your installation, you will need to have your internet plan upgraded, if applicable. Otherwise, the setup may not operate as it should. When I set up my first Eero Pro 6 devices, I had to increase the bandwidth for my Spectrum internet plan. If you need to do this, you may need to wait for new equipment from your provider so you’re equipped with the increased speed.
Before you begin, your internet modem should also be functioning to avoid longer setup times. If it isn’t, you need to follow your ISP’s setup process and then the process for the Eero devices. While one of the steps does involve unplugging the modem, it won’t require you to go through the modem’s setup from the start.
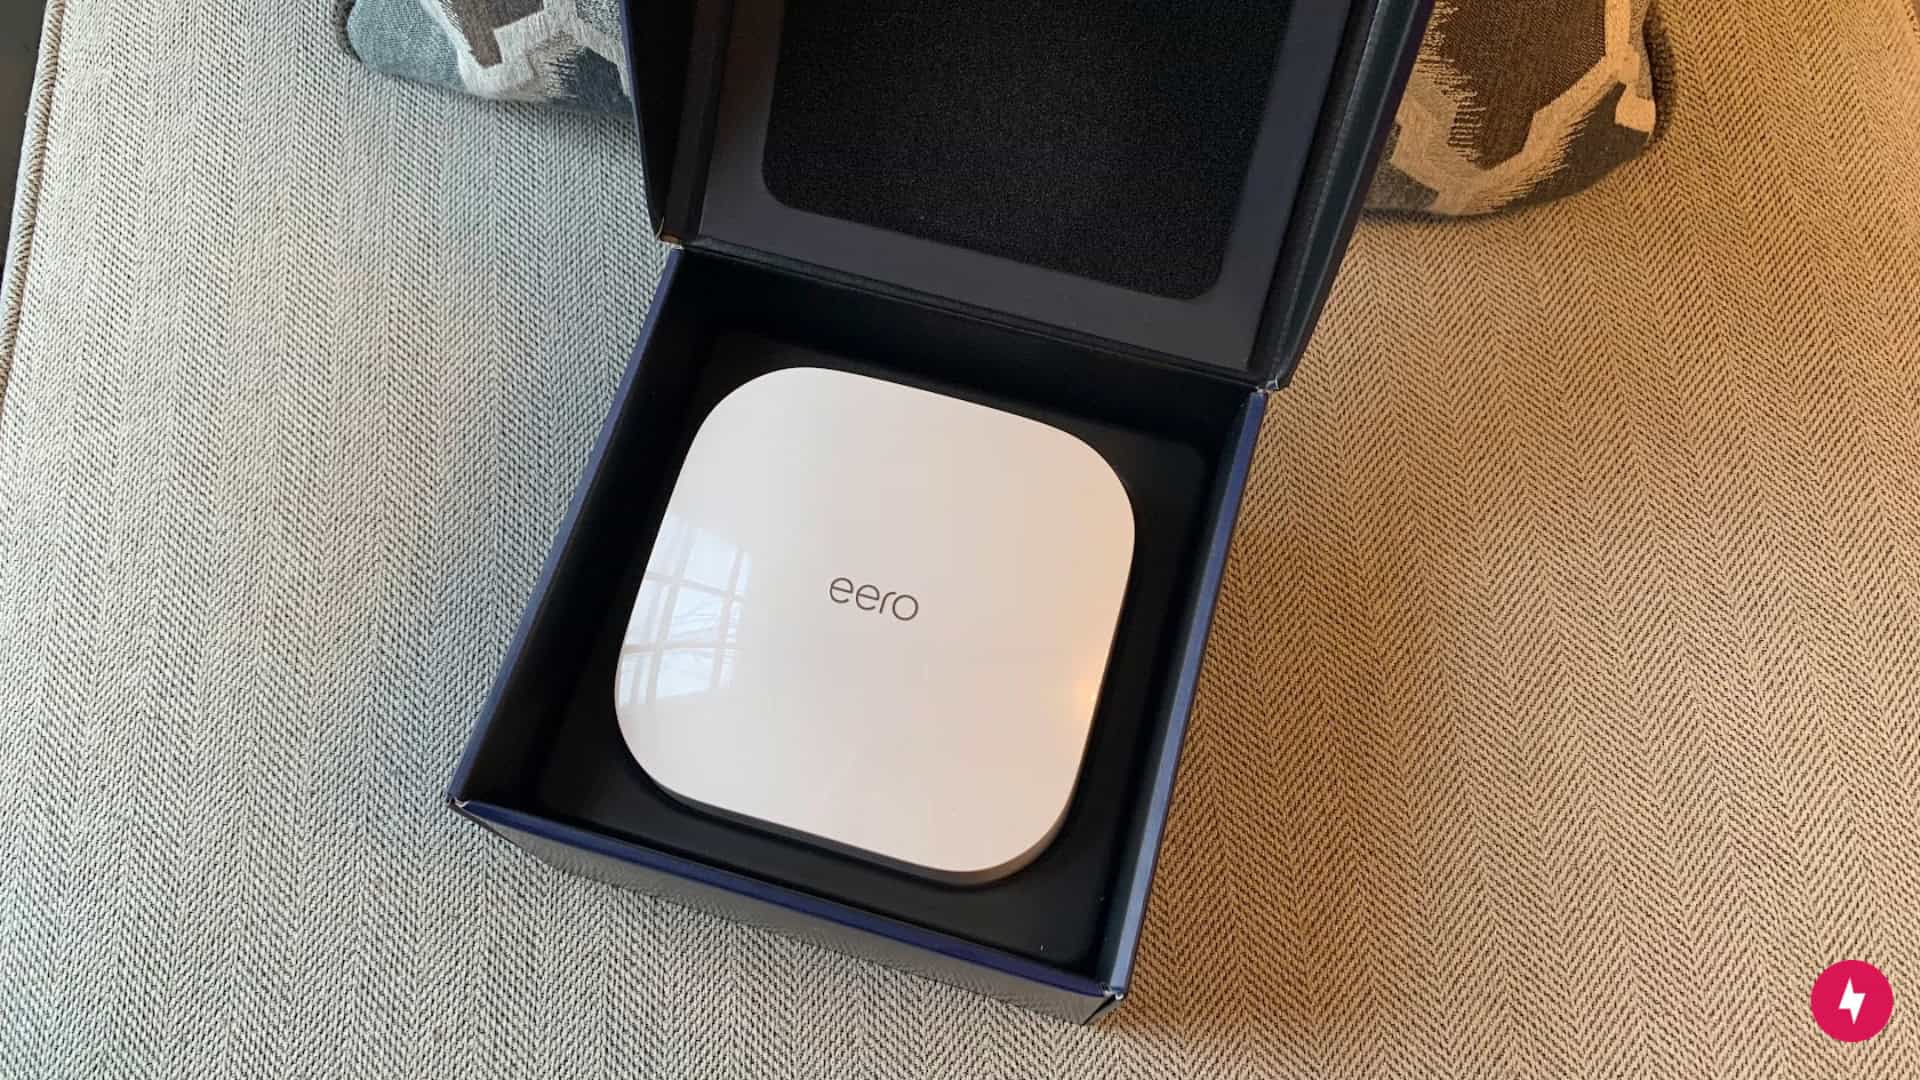
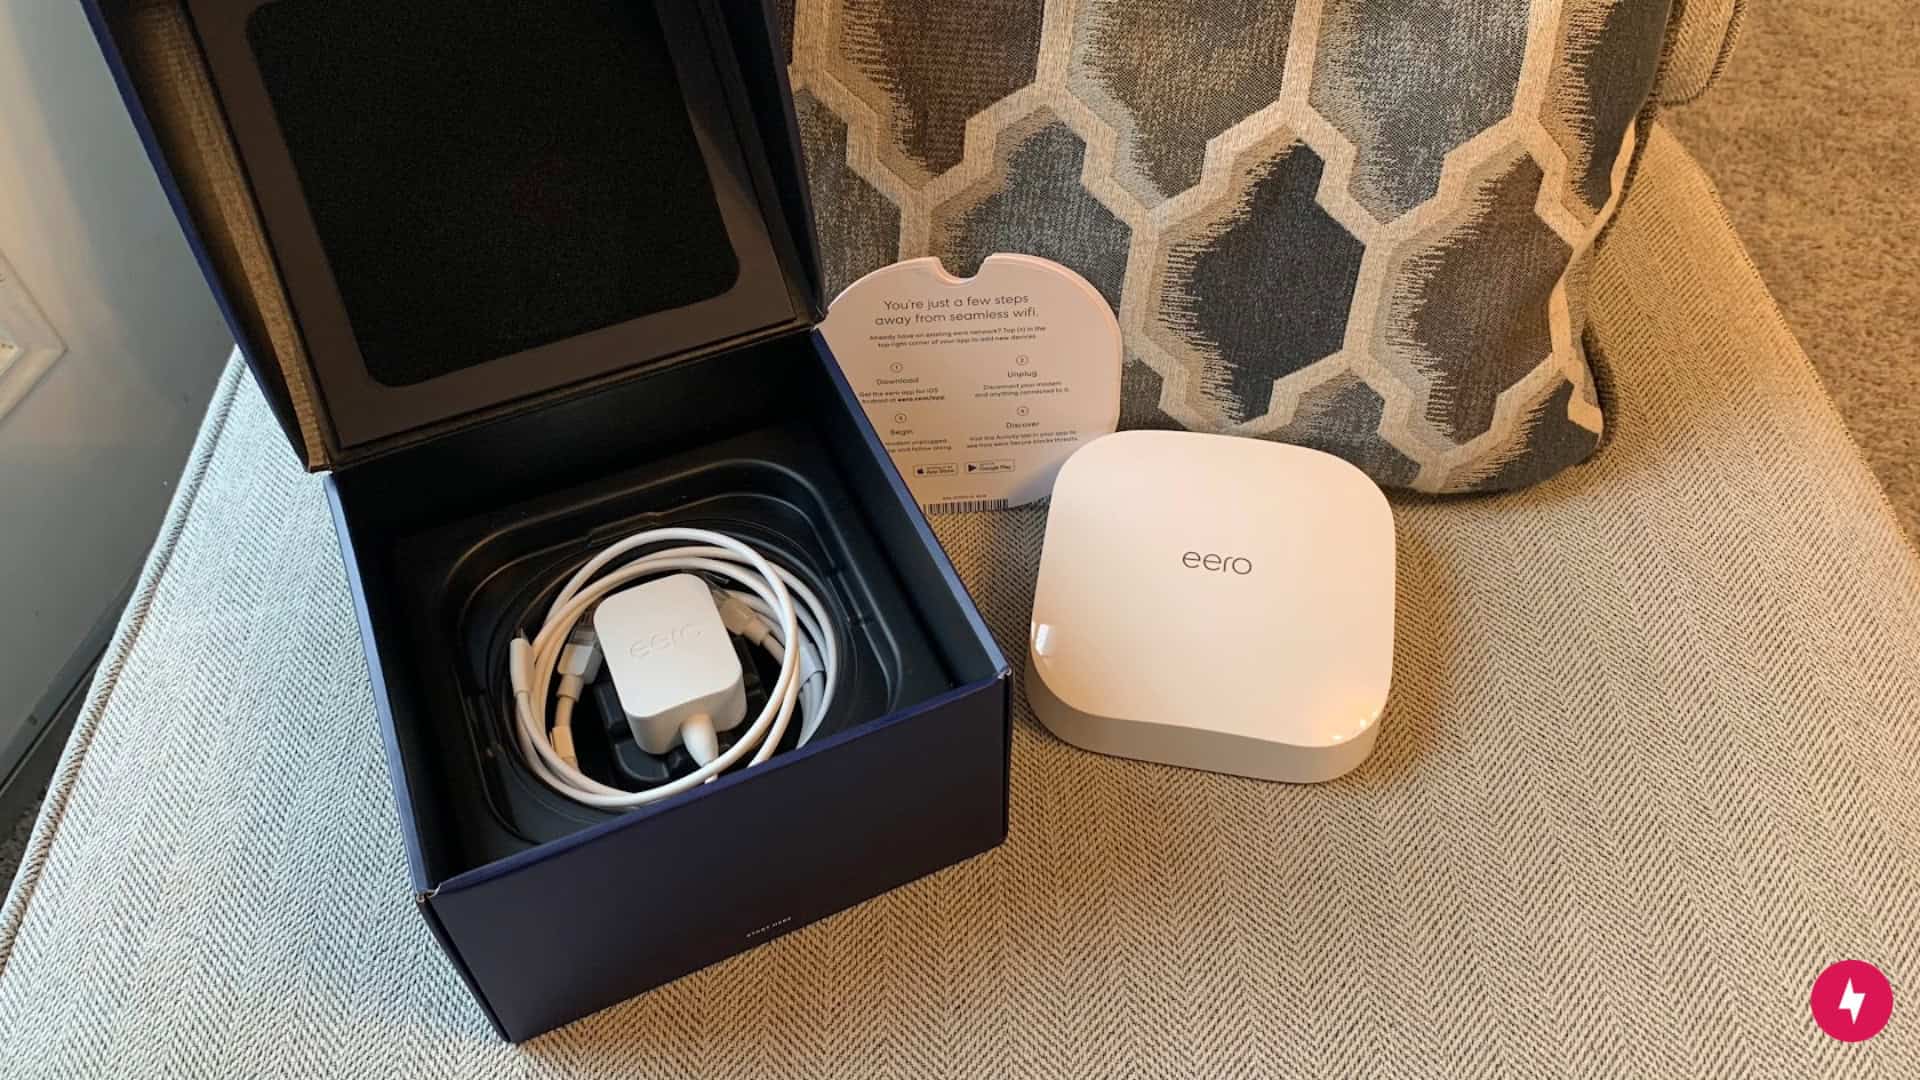
The package you receive from Eero has all of the tools you need for installation. You’ll also need a smartphone to download Eero’s mobile app, as you’ll use this for setup. Each box contains your device, power adapters, an Ethernet cable, and a step-by-step instruction guide. If you order multiple devices, they may each come in their own box with all the tools included or in one box altogether.
How to Set Up an Eero Wi-Fi System
Setting up your Eero device typically takes less than 30 minutes, and the handy app walks you through the steps seamlessly.
1. Download the Eero App
Using your smartphone, download the Eero app for iOS or Android.
2. Unplug Your Modem
Disconnect your modem and any other cords connected to it. It’s worth noting again that your modem should be operational before doing this. If not, you may run into issues setting up your ISP modem, which could add time to your overall setup.
3. Open the Eeros App
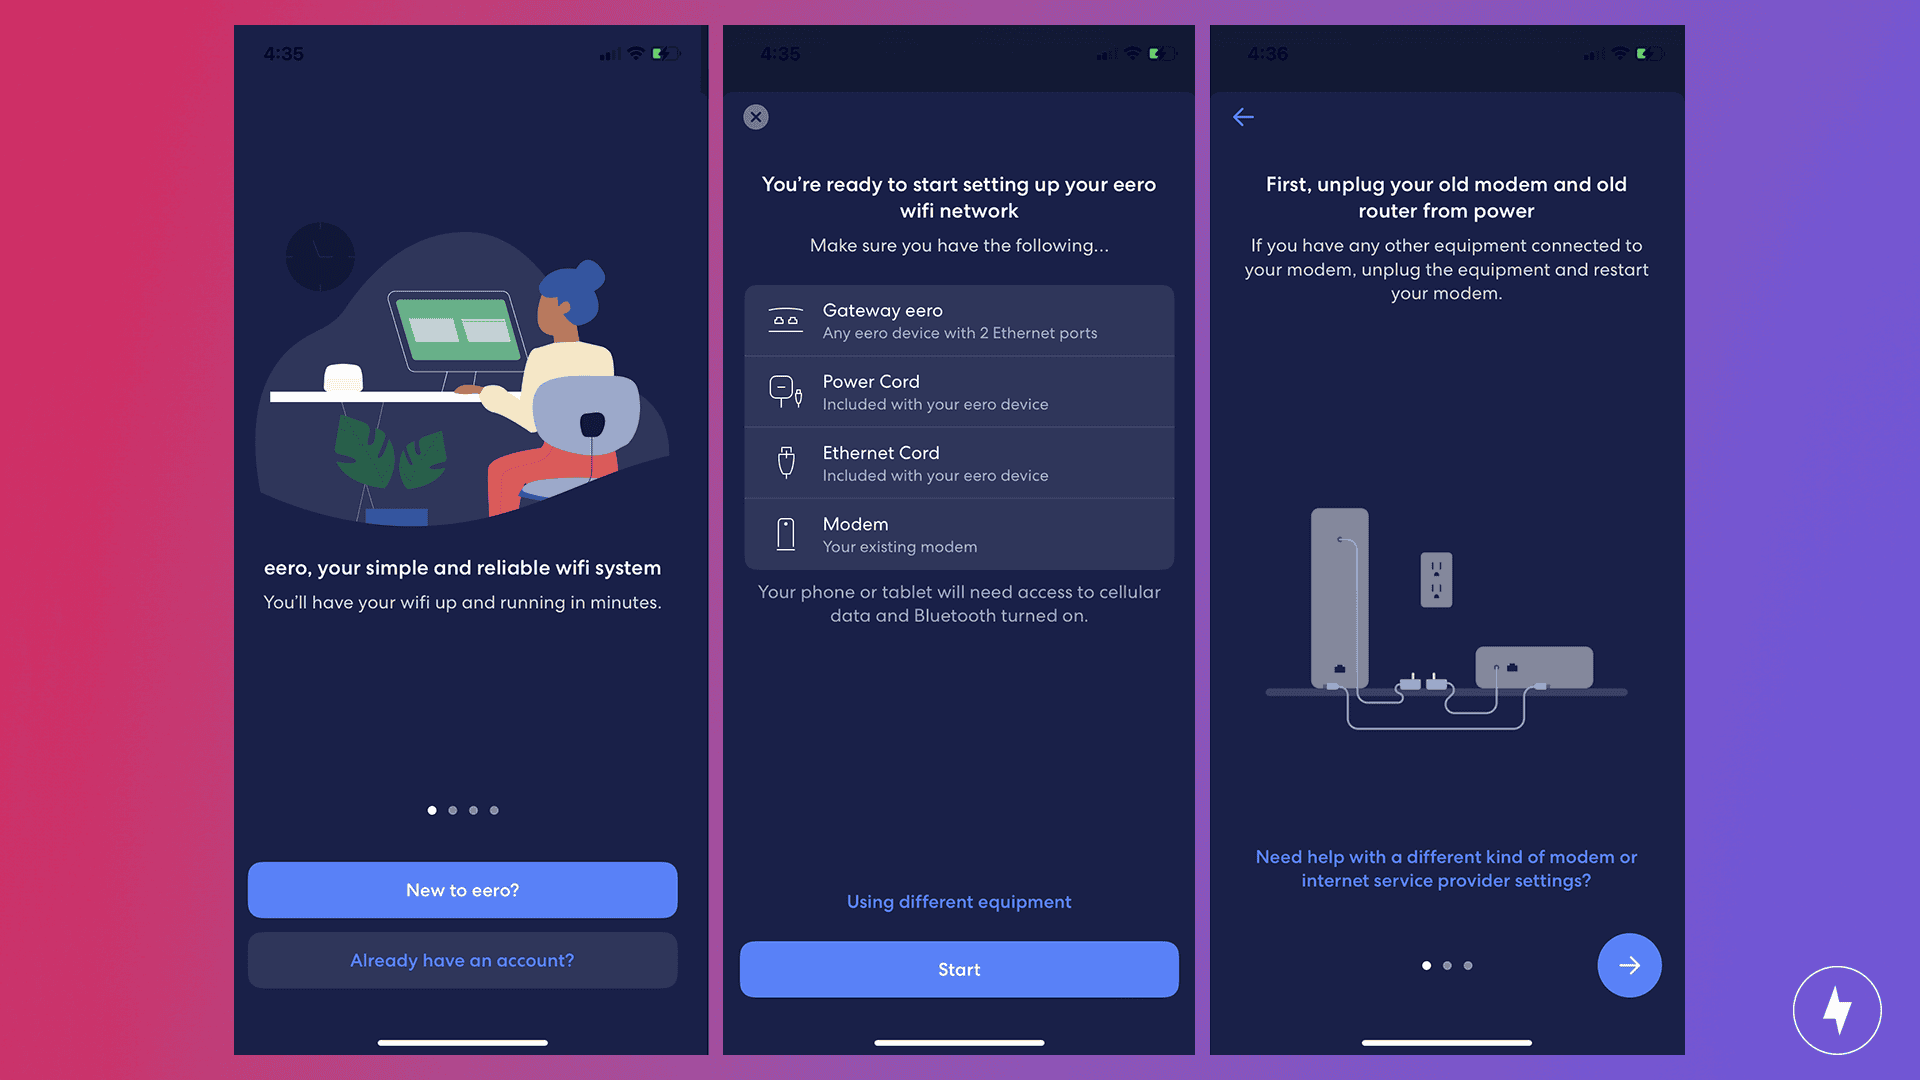
Upon launching the Eero app, you’ll be asked to create an account or sign in. This will help you continue with the set up while also providing a place to control your internet settings and preferences. The app will show you a list of all the items you need for setup: your gateway Eero device, a power cord, an Ethernet cord, and your existing modem.
4. Connect Your Gateway Eero to Your Modem
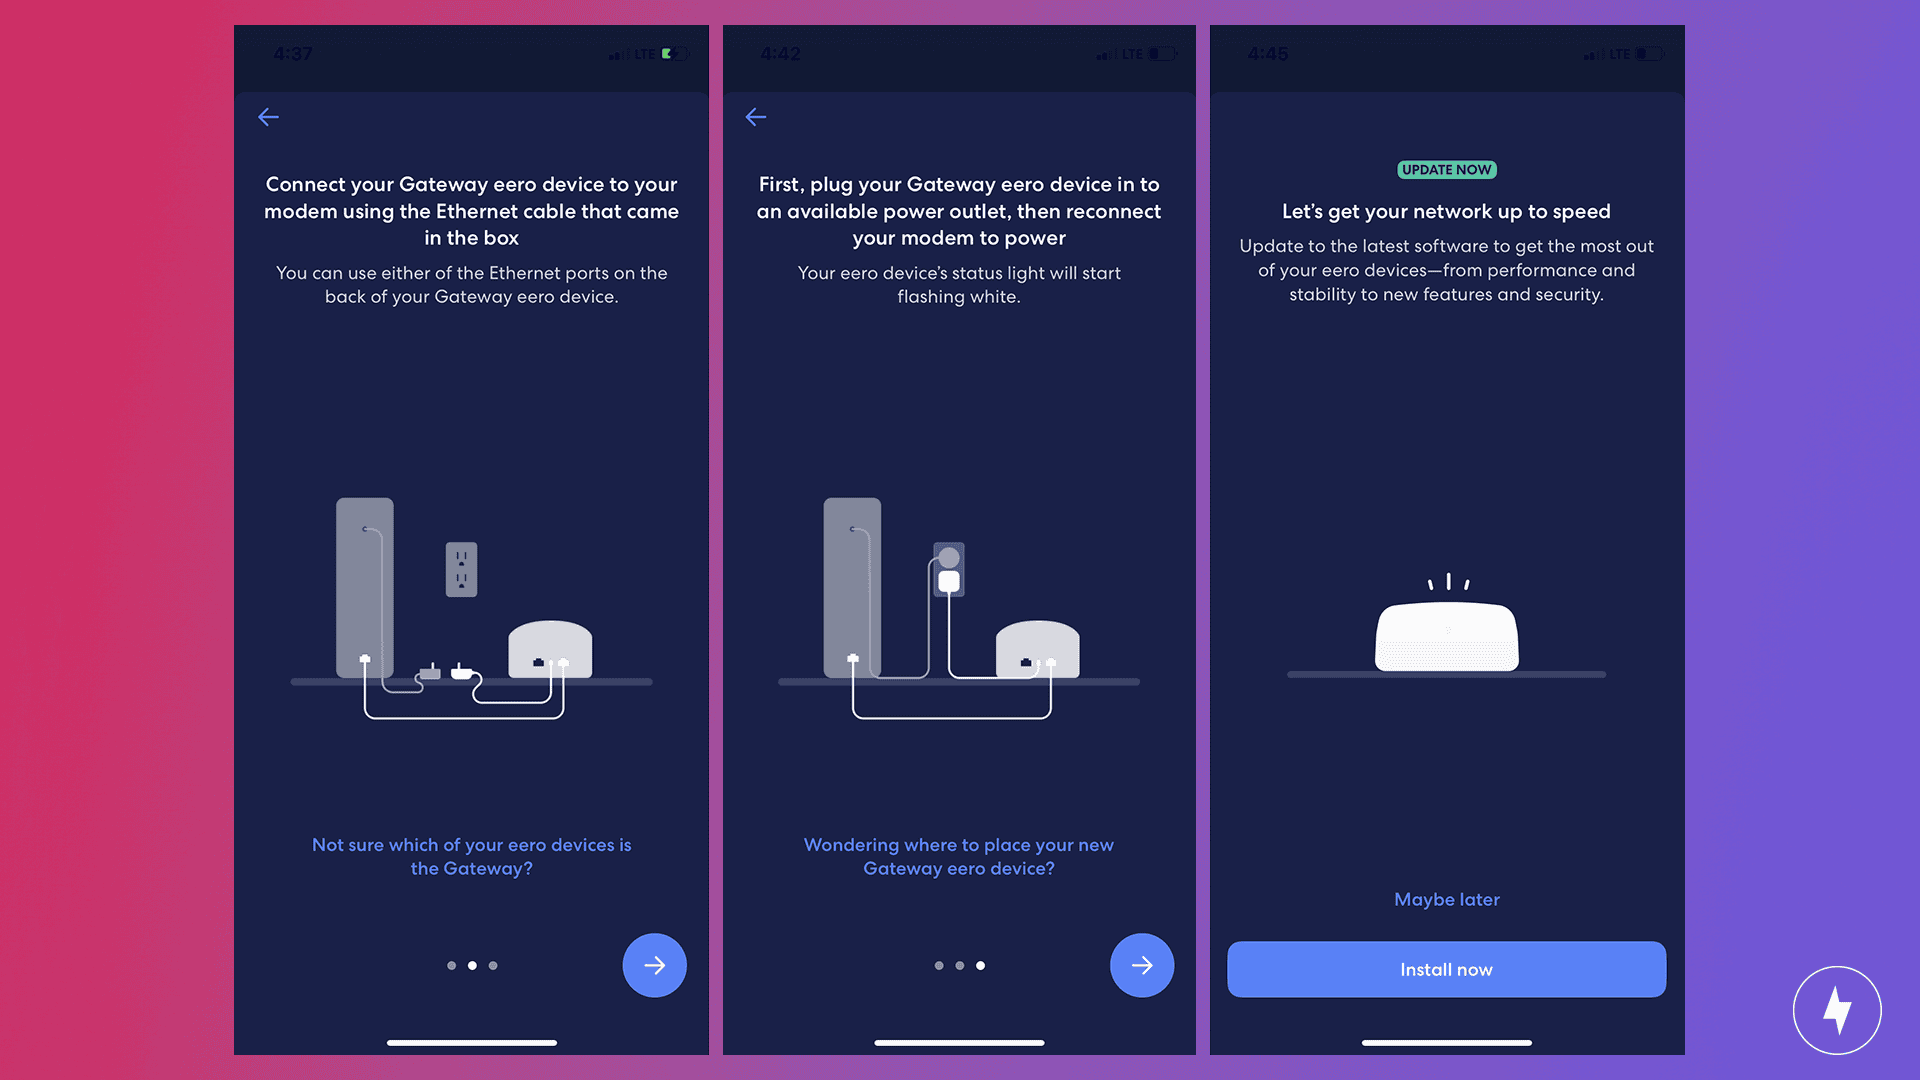
Using the provided Ethernet cable, plug your Gateway Eero device into your modem. Then plug each device’s power cord into an electrical outlet.
5. Update Your Eero Device
The Eero app will prompt you to install the latest Eero software to ensure optimal performance and security. Keep the app open during the update.
6. Select Your Location
Once the update is finished, the Eero app will ask you to select your device’s location. Choose from the selection of rooms or add a custom option.
7. Create Your Wi-Fi Network
You will be asked to create a new Wi-Fi network and password for your Eero device. Create a secure network name and password that you will use to access your internet connection. Unlike a router you receive from your ISP, you will not be given a generated login for your Wi-Fi; this makes it easy to create something unique and safe for your household.
8. Set Up Additional Devices
You’ll continue using the app to add new devices. This device will only need to be plugged into an electrical outlet. Select the device location, which should be no more than 50 feet apart from your gateway device. Then, select the location of this device as well. Repeat this step for any other devices.
When you set up a new modem and router, you will receive generic login information for your router and Wi-Fi. For security purposes, change your Wi-Fi password and name after your internet has been set up. Skipping this step could open up the risk of strangers or hackers accessing your network, so take the time to change this information sooner rather than later.
How to Ensure a Successful Eero Wi-Fi Installation
The placement of your Eero devices is paramount to ensuring your home accesses the best signal strength and enjoying a successful installation. The correct router placement makes a huge difference in the effectiveness of your Wi-Fi signal.
Your gateway Eero device’s location will be more limited as it needs to be connected to your modem. The placement of your coaxial cable outlet can feel limiting, but you’ll want to practice a few key do’s and don’ts to increase your signal reach.
Do's
- Choose a central location within the home
- Keep it elevated off the floor
- Minimize surrounding obstructions
- Test out different locations to find the optimal spot
Don'ts
- Put it in a cabinet
- Place it next to a wall or on the floor
- Place it near other electronics or appliances
- Place it next to a window or mirror
When placing additional Eero devices, you have more flexibility since you won’t need to attach them to anything else. You’ll simply plug it into an outlet and connect it to your gateway Eero. The tricky part comes in finding an optimal, open location. Second or third stories in homes typically have bedrooms and narrow hallways. Do your best to follow the above do’s and don’ts for placing your device.
These areas are usually best if you have an open landing on higher floors. If your main concern is having a strong connection in a specific room, such as an office or primary bedroom, you can choose to place the device there.
Managing an internet connection involves numerous cables and connections, especially when dealing with multiple devices. This can lead to quite a bit of clutter. Ensure a neat setup by organizing your cables and verifying proper connections. This not only prevents mess but also safeguards against potential damage to cables or ports that may disrupt your internet connection.
Troubleshooting Eero Setup Issues
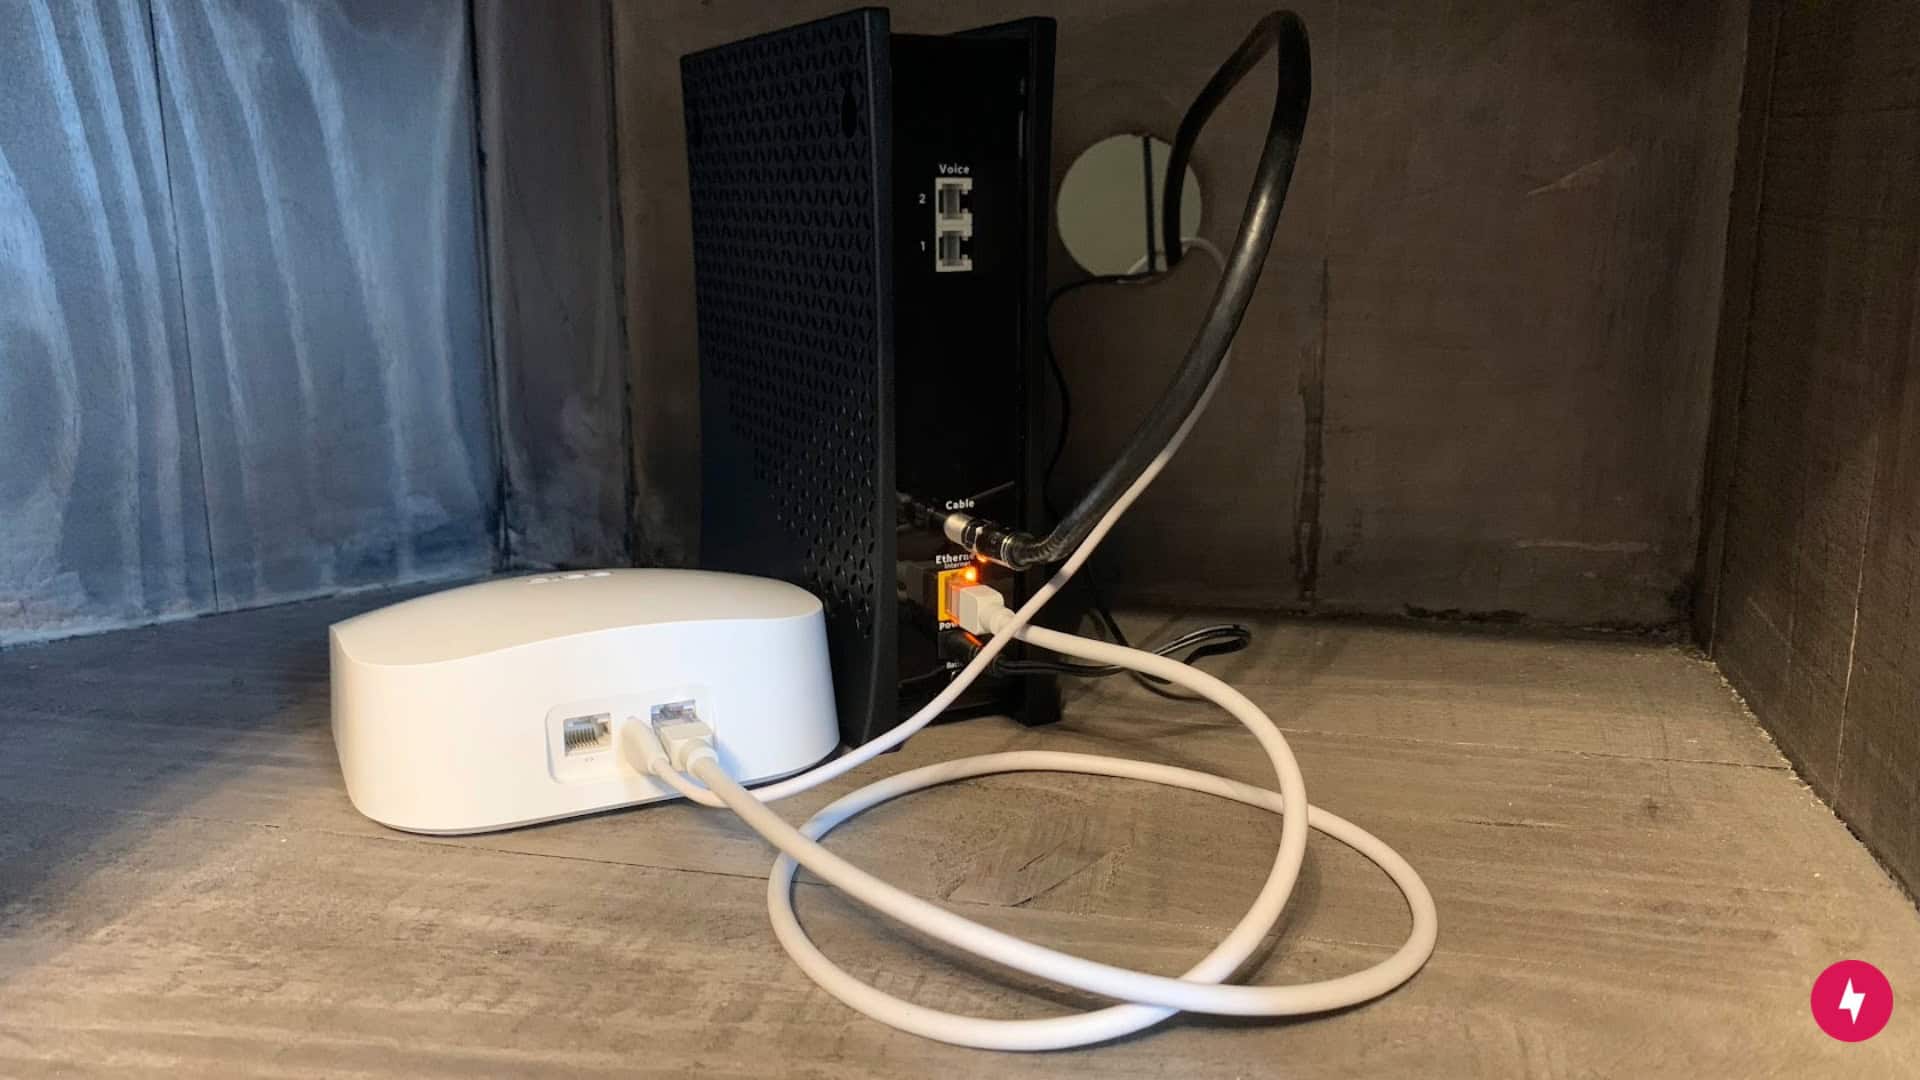
Setting up an internet connection is bound to pose issues now and then. If you face challenges with getting your Eero up and running, checking your connections is the best first step. Ensure that your gateway Eero is connected to your modem using the provided Ethernet cord — securely attaching it to both your Eero and one of the Ethernet ports on your modem.
If the connection problem persists, try one of the most common Wi-Fi troubleshooting tricks by power-cycling your modem. If there is an on/off switch, turn it off and wait for 30 seconds before switching it back on. In the absence of an on/off switch, unplug the modem, wait for 30 seconds, and then plug it back in. Wait for the lights on the modem’s display to stabilize, indicating a successful power cycle.
You can also power-cycle your gateway Eero by unplugging and replugging it. After reconnecting to power, wait for about two minutes for the Eero to fully boot up.
If you continue to experience installation errors, don’t hesitate to call Eero’s customer support for assistance.
Frequently Asked Questions About Setting up an Eero Wi-Fi System
Can I connect Eero to an existing router?
Your Eero device will replace your current router, so keeping your previous router is unnecessary. It’s worth noting that if this router was provided to you by your service provider, you will need to keep this stored for the future. Unless you own it, you must send the device back to your ISP when and if you cancel or change your service.
Do I still need a modem with Eero?
Yes, you will still need the modem provided by your ISP when setting up your Eero device, as the two work in conjunction. The modem converts digital information from the network into signals that can travel through the internet provider’s system, like cable or DSL lines. The router — your Eero device — is then responsible for directing this internet connection to devices in your home network.
Do you need an Ethernet cable for Eero?
You need to connect to your ISP’s modem using the provided Ethernet cable. You can also use Ethernet cables to hardwire specific devices to your Eero network.
Why are there two Ethernet ports on Eero?
Every Eero device comes with two Ethernet ports. One of these ports is used to link your gateway Eero to the internet through your modem. The second Ethernet port can be used to directly connect another device, like a gaming console or Sonos player, to your network using a wired connection.