How to Set Up a Mesh Wi-Fi Network to Eliminate Dead Zones
Say goodbye to dead zones and hello to seamless, reliable whole-home Wi-Fi.

- Mesh Wi-Fi networks eliminate dead zones by using multiple strategically placed nodes to provide consistent internet coverage in the entire home.
- Setting up a mesh Wi-Fi network involves steps like placing a central router, configuring additional nodes and using an app for optimization and customization.
- Depending on your home’s size, layout and connectivity needs, you can choose between a mesh network and alternatives like Wi-Fi extenders.
A strong Wi-Fi signal in every corner of your home is essential to stay connected online. Unfortunately, dead zones cause major headaches in homes with thick walls, unique layouts and multiple stories. Mesh Wi-Fi networks provide a welcome solution to ensure consistent high-speed internet in every nook and cranny of your space. Here’s how to set up your mesh Wi-Fi network, with tips for choosing the right one and key strategies to ensure a successful setup.
Overview of Setting Up a Mesh Network
- What Is a Mesh Wi-Fi Network?
- What to Know Before Installing a Mesh Wi-Fi Network
- How to Set Up a Mesh Wi-Fi Network
- How to Choose a Mesh System
- Choosing Between a Mesh System and a Wi-Fi Extender
What Is a Mesh Wi-Fi Network?
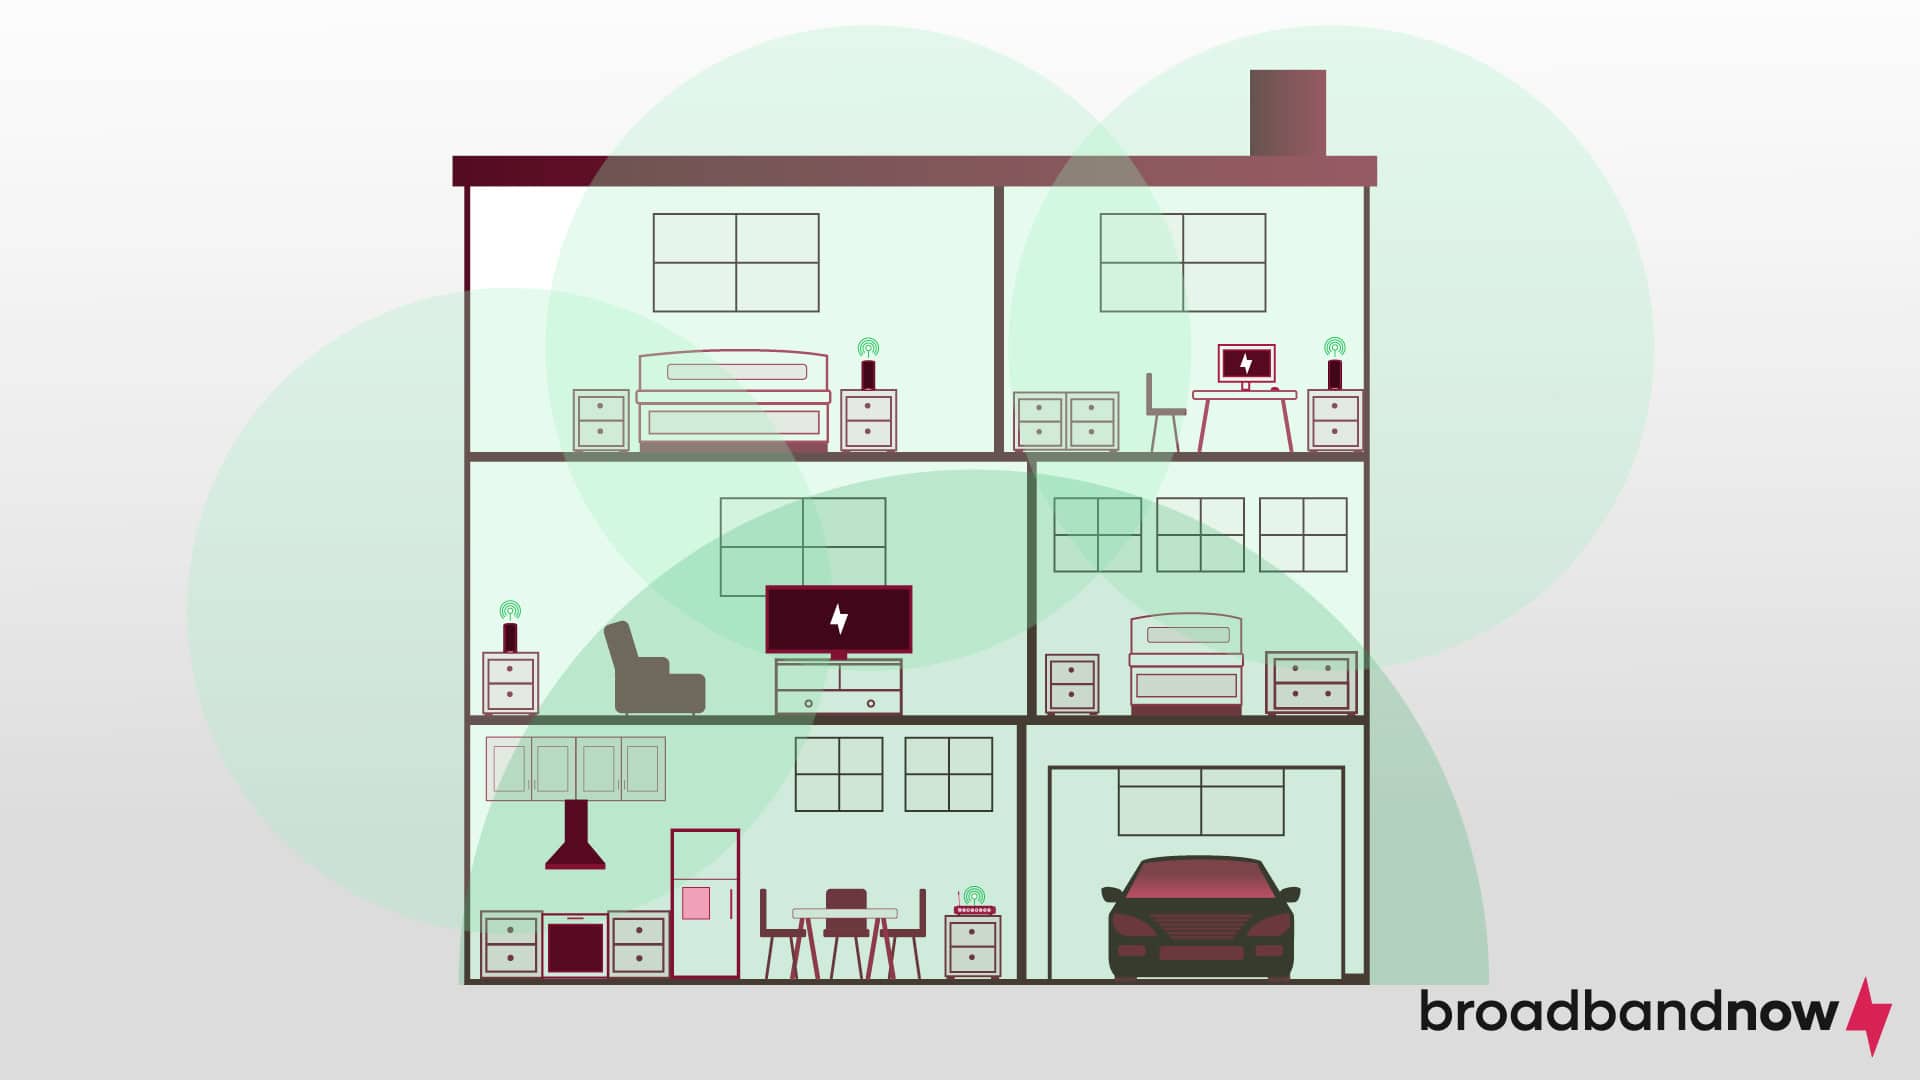
A mesh Wi-Fi network features a system of routers that work together to deliver complete wireless internet coverage. Unlike traditional routers, which send signals from a lone router, mesh networks extend Wi-Fi evenly across multiple routers. Similar to your traditional setup, one central router connects to your internet modem while other routers — called nodes — are dispersed throughout the home to deliver seamless connectivity.
Households that could benefit from a mesh Wi-Fi network include:
- Homes with two or more floors
- Large houses over 2,000 square feet
- Houses with thick walls (like brick or concrete), which disrupt Wi-Fi signals
- Families with multiple devices connected at the same time, especially when engaging in bandwidth-heavy activities
- Spaces with poor connectivity in certain areas, like basements, garages or attics
What to Know Before Installing a Mesh Wi-Fi Network
Before you set up your mesh Wi-Fi system, you want to make sure you’re following all the right steps to get the most out of it. Planning these details helps you create an efficient home network.
- Square Footage and Layout: Know the approximate square footage of your home and where Wi-Fi tends to drop off. This helps you determine where each node should be placed to get the best coverage.
- Number of Nodes: Homes up to 1,500 square feet can work with just one or two nodes, while larger homes may require three or more. Mesh Wi-Fi systems specify coverage estimates, so review these to select the right number of nodes for your home’s size.
- Placement Tips: Proper router placement is key to making the system work. Choose open areas away from obstacles such as furniture or appliances that can interfere with signal strength. Avoid placing nodes near water (like fish tanks) or inside cabinets, as this can weaken the signal.
- Speed Requirements: If high-speed internet is important for gaming, streaming, remote work or other bandwidth-heavy activities, prioritize systems that support high-bandwidth connections or multiband channels. You also need to make sure you have an internet plan that can handle the speed needed for the system to operate.
How to Set Up a Mesh Wi-Fi Network
Depending on the system you purchase, the steps will vary slightly. I’ve tested several mesh systems from different brands and can say that each one came equipped with easy-to-follow instructions and a supplemental app to make setting up your home network quick and painless. Mesh systems are an advanced technology, but setting them up is incredibly user-friendly, even if you aren’t tech-savvy.
1. Install the Mesh App

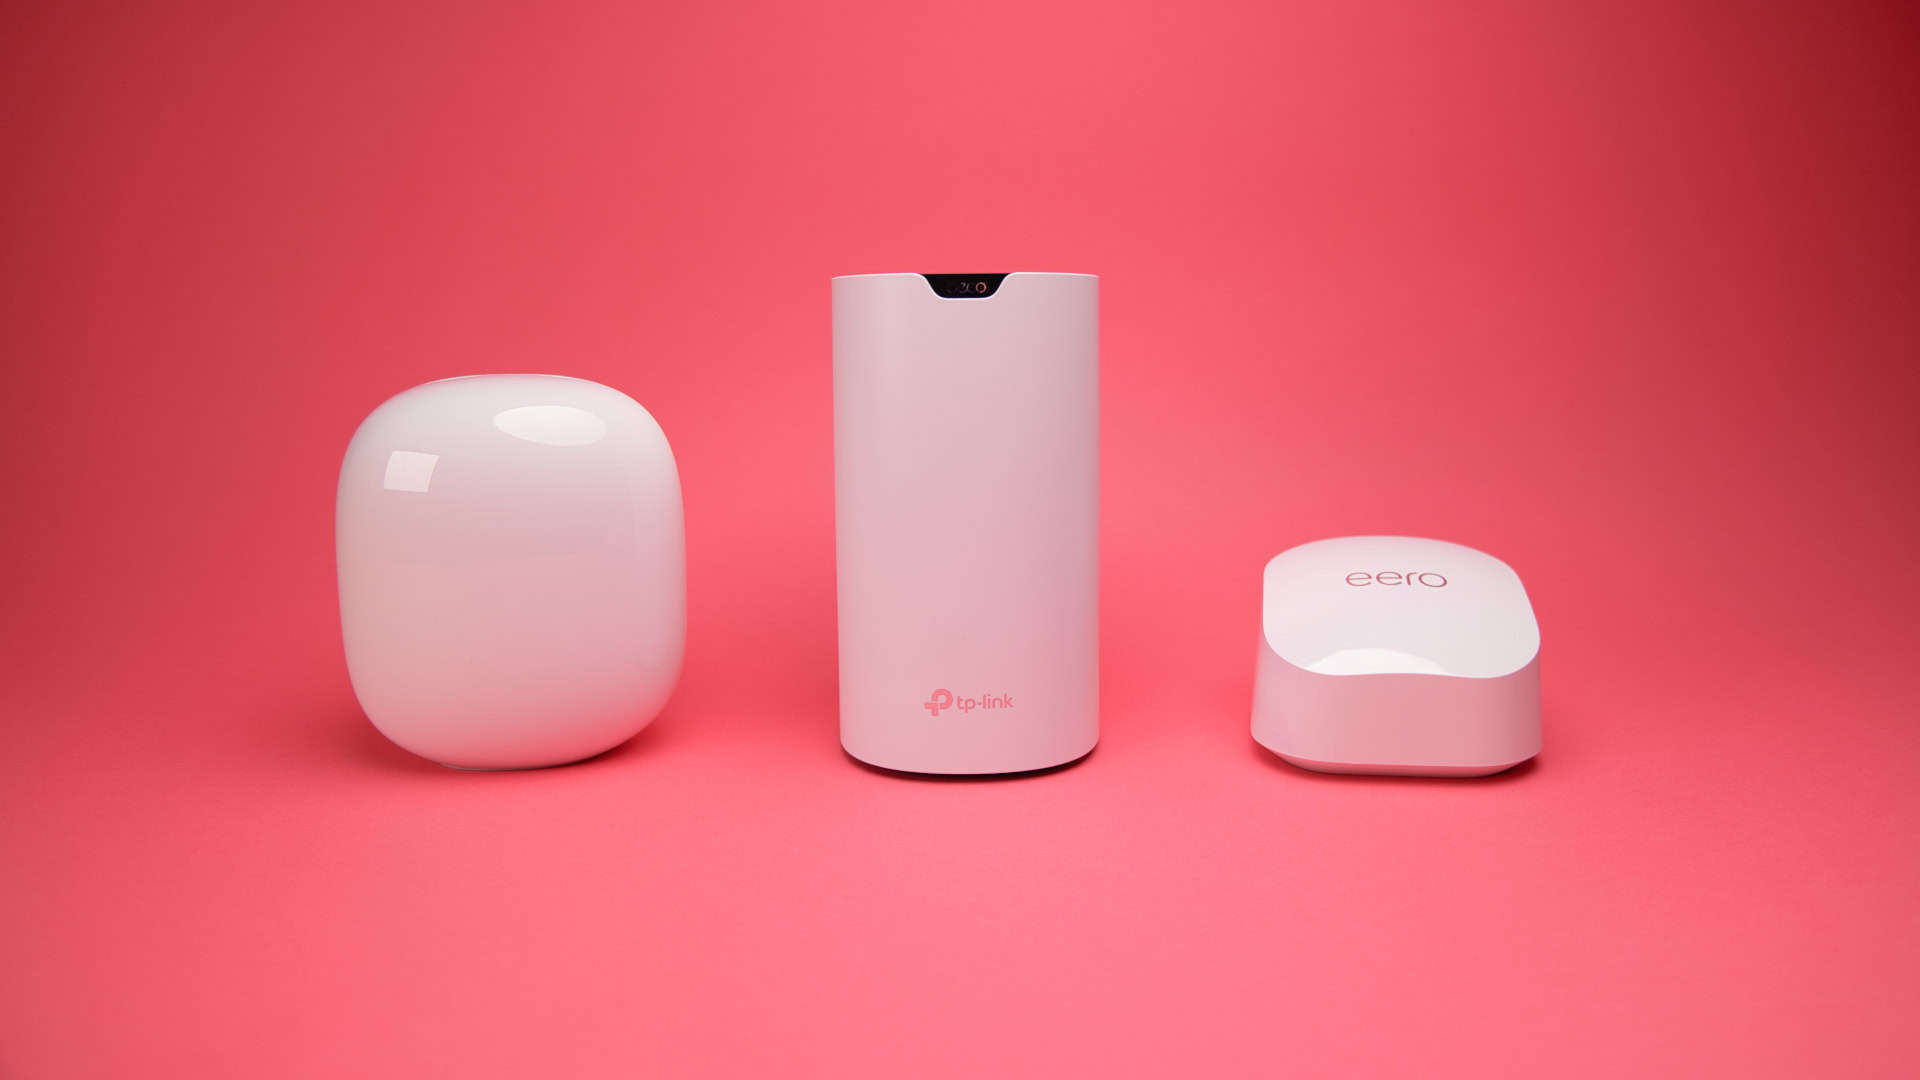
Mesh Wi-Fi systems such as eero, TP-Link and Asus come with mobile apps to walk you through the setup process. Before you disconnect anything, download the app. This first step is especially important if you live in an area with a weak cellular signal, as it will be more challenging to download the app after you’ve disconnected from your current system.
2. Choose a Location for Your Main Router

Find a central spot in your home for the main router where signals can easily reach other parts of the home. Disconnect your previous equipment, including your modem. Then, connect the main router for your mesh system to your modem.
3. Set Up a Network Name and Password
Most apps will prompt you to complete this step, but once you’ve connected to your network, you’ll choose a secure network name and password. Choose a network name that’s easy to identify but doesn’t give away personal information. For the password, ensure it’s a strong password to keep your network secure.
4. Set Up Additional Nodes

Once your network is up and running, you can start adding the rest of your nodes. Choose locations close to where you frequently experience dead zones, like on a second story or in the basement. The setup for these will go much quicker and requires simply plugging it into the wall where you want it. It doesn’t need to connect to your modem. Repeat this step until all of your nodes are set up.
5. Test Your Signal
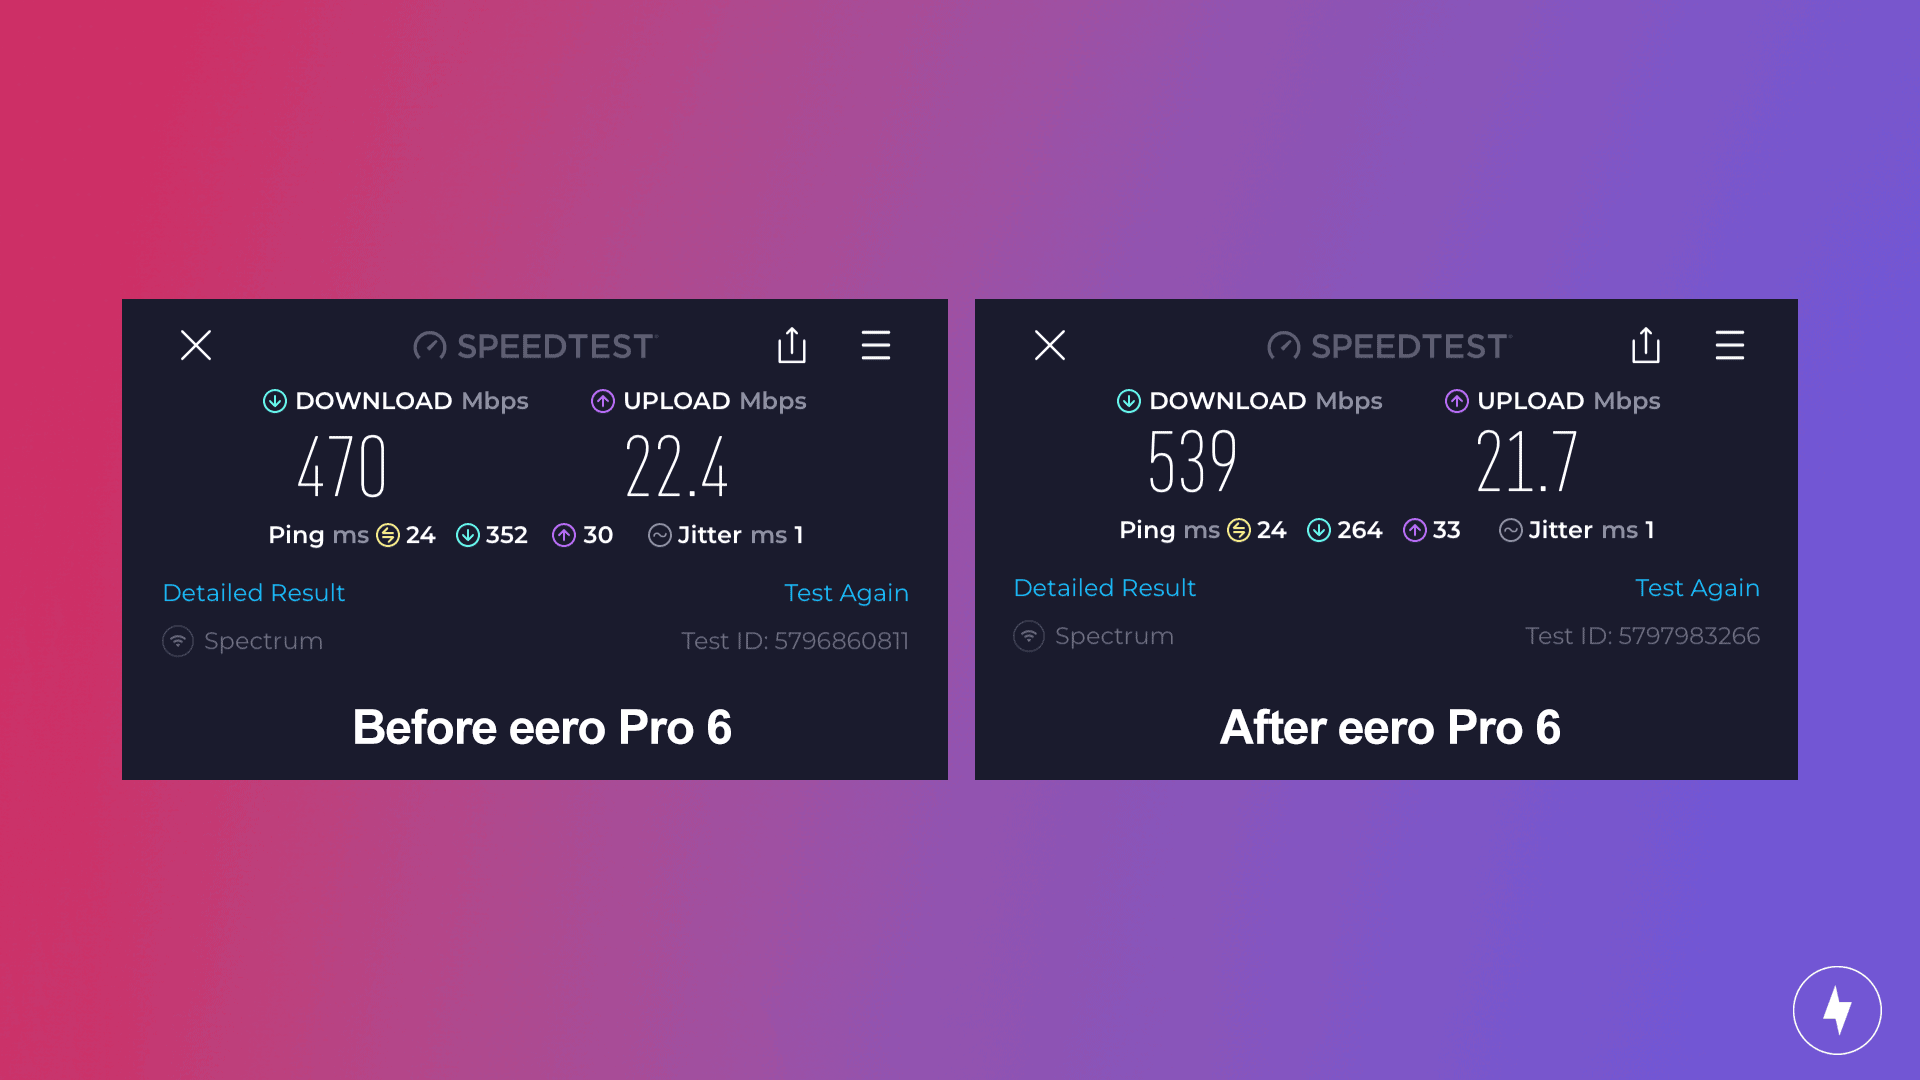
Once all your nodes are connected, use the app to check signal strength throughout your home. Some apps offer guidance on placement if nodes need to be moved closer or further away for optimal coverage. If you just want to test signal strength and don’t need tips for placement, consider using a speed test for the most accurate results.
6. Customize Your Settings
Mesh systems allow you to customize settings like parental controls, guest networks and prioritization for certain devices directly from the app. Explore these options to tailor the network to your needs. Depending on the brand you choose, some will offer features for free while others require a paid subscription for certain usage.
How to Choose a Mesh System
Not all mesh systems are created equal, and each one will have varied features for your needs. Consider your home’s size, internet speed needs, budget and any specific features you want. Start by looking at the coverage area per node to ensure the system can handle your home’s size and layout.
If your household engages in a lot of high-bandwidth activities like streaming or gaming, opt for a system with multiple bands (dual or tri-band) to support better speeds and handle heavy data traffic. Some mesh systems offer additional features, like parental controls, smart home integration and app-based management, so determine which features would work best for your needs.
Below are some popular mesh systems you can choose from.
| Mesh system | Sq. ft. coverage | Price (3-pack)* | Notable feature |
|---|---|---|---|
| TP-Link Deco S4 | 5,600 sq. ft. | $129.99 on Amazon | Budget-friendly |
| eero 6+ | 4,500 sq. ft. | $299.99 on Amazon | Quick setup process |
| Google Nest Wifi Pro | 6,600 sq. ft. | $399.99 on Amazon | Impressive wireless download speeds |
*List price. This doesn’t reflect limited-time deals or discounts. Last updated 12/11/24.
Choosing Between a Mesh Network and a Wi-Fi Extender
Mesh networks and Wi-Fi extenders are both popular solutions for improving your home’s Wi-Fi coverage, but one is a bit more expansive than the other. Mesh networks are best suited for large homes that need seamless Wi-Fi coverage across multiple rooms or stories. The mesh system creates a single, unified network so you can move throughout your house without switching connections or losing signal.
Wi-Fi extenders expand the range of a single router and target just one or two specific areas with weak coverage. You generally only need one extender and can connect it with your current router, as there’s no need to replace it. Extenders create separate network names, so as you move around, you may need to switch between networks manually to maintain a strong connection. While extenders are usually more affordable and can be effective for isolated coverage boosts, mesh systems provide a more comprehensive and convenient solution for households looking for whole-home connectivity.
Frequently Asked Questions About Mesh Wi-Fi Networks
Do mesh Wi-Fi systems need to be wired together?
The central router needs to be wired to your modem to establish a connection. However, any remaining nodes can operate wirelessly from the central router. There’s no need to connect them together so you can place them wherever you need to without running long wires between floors or rooms.
What must be avoided in a mesh network?
Avoid placing nodes too far from each other or too close to Wi-Fi-interfering devices such as microwaves or Bluetooth speakers. Thick walls or metal objects can also interfere with the signal, so choose locations with minimal obstructions.
Can I add mesh Wi-Fi to my existing router?
Mesh Wi-Fi systems are designed to replace your current router. While you can use a mesh system with your current router, you’ll give up some of the key features that make it ideal. In addition, some devices won’t be able to connect to it, so your best bet is to simply replace your current router and run with a complete mesh system.
What is a major disadvantage of a mesh network?
The up-front cost of mesh systems can get quite expensive depending on which one you choose and the features you need. The cost will be more than what you’re paying your internet service provider to use their devices, but you do get more from it. Some systems also require paid subscriptions to enjoy certain features, which adds a monthly or annual cost.
Why is my mesh Wi-Fi so slow?
Slow speeds in a mesh network are often attributed to node placements. If the nodes are too far apart, placed near interfering sources or if your internet plan doesn’t support high speeds, you’ll experience some lag. Make sure nodes are optimally placed and consider upgrading your internet plan if necessary.
Is a mesh network overkill?
A mesh network can be overkill for smaller homes or apartments, especially if you have a basic internet plan or only a few connected devices. A single, high-quality router or a Wi-Fi extender may be sufficient to cover the entire space and meet connectivity needs without the extra expense of a mesh system. However, for larger homes, properties with multiple floors or households with numerous devices demanding high bandwidth, a mesh network is a reliable solution that prevents dead zones and minimizes interruptions.